
.JPG)
So without further ado, here is how we did it. Yes, my hubby decided to help me, but I will not let him take credit for the idea to do this to our coffee table - that was all me. ;)
1. I went to JoAnn Fabrics (they are having a HUGE coupon promotion right now) and bought these items:
- Richloom Studio-Presidio Water Fabric: 2 Yards
- Originally 29.99 per yard, but on sale: $17.99/yd
- I decided to splurge on the fabric because A) It matches our living room theme/color exactly B) We were upholstering a huge item in the living room for all to see C) I wanted it to last since we will always be putting our feet up on it.
- Heavy Duty Staple Gun & Staples:
- Staple Gun: $10.50 (50% off coupon)
- Staples: $2.30 (50% off coupon)
- Low-Loft Batting (This is where I stood in the store the longest, very unsure of which "loft" to get for this project.
- Batting: On Sale for $7.49
- 2" High Density Foam (2 squares)
- Foam: On Sale $6.99 each
- Other supplies: Utility Knife, Duct Tape, Scissors

 |
| Richloom Studio-Presidio Water Fabric |
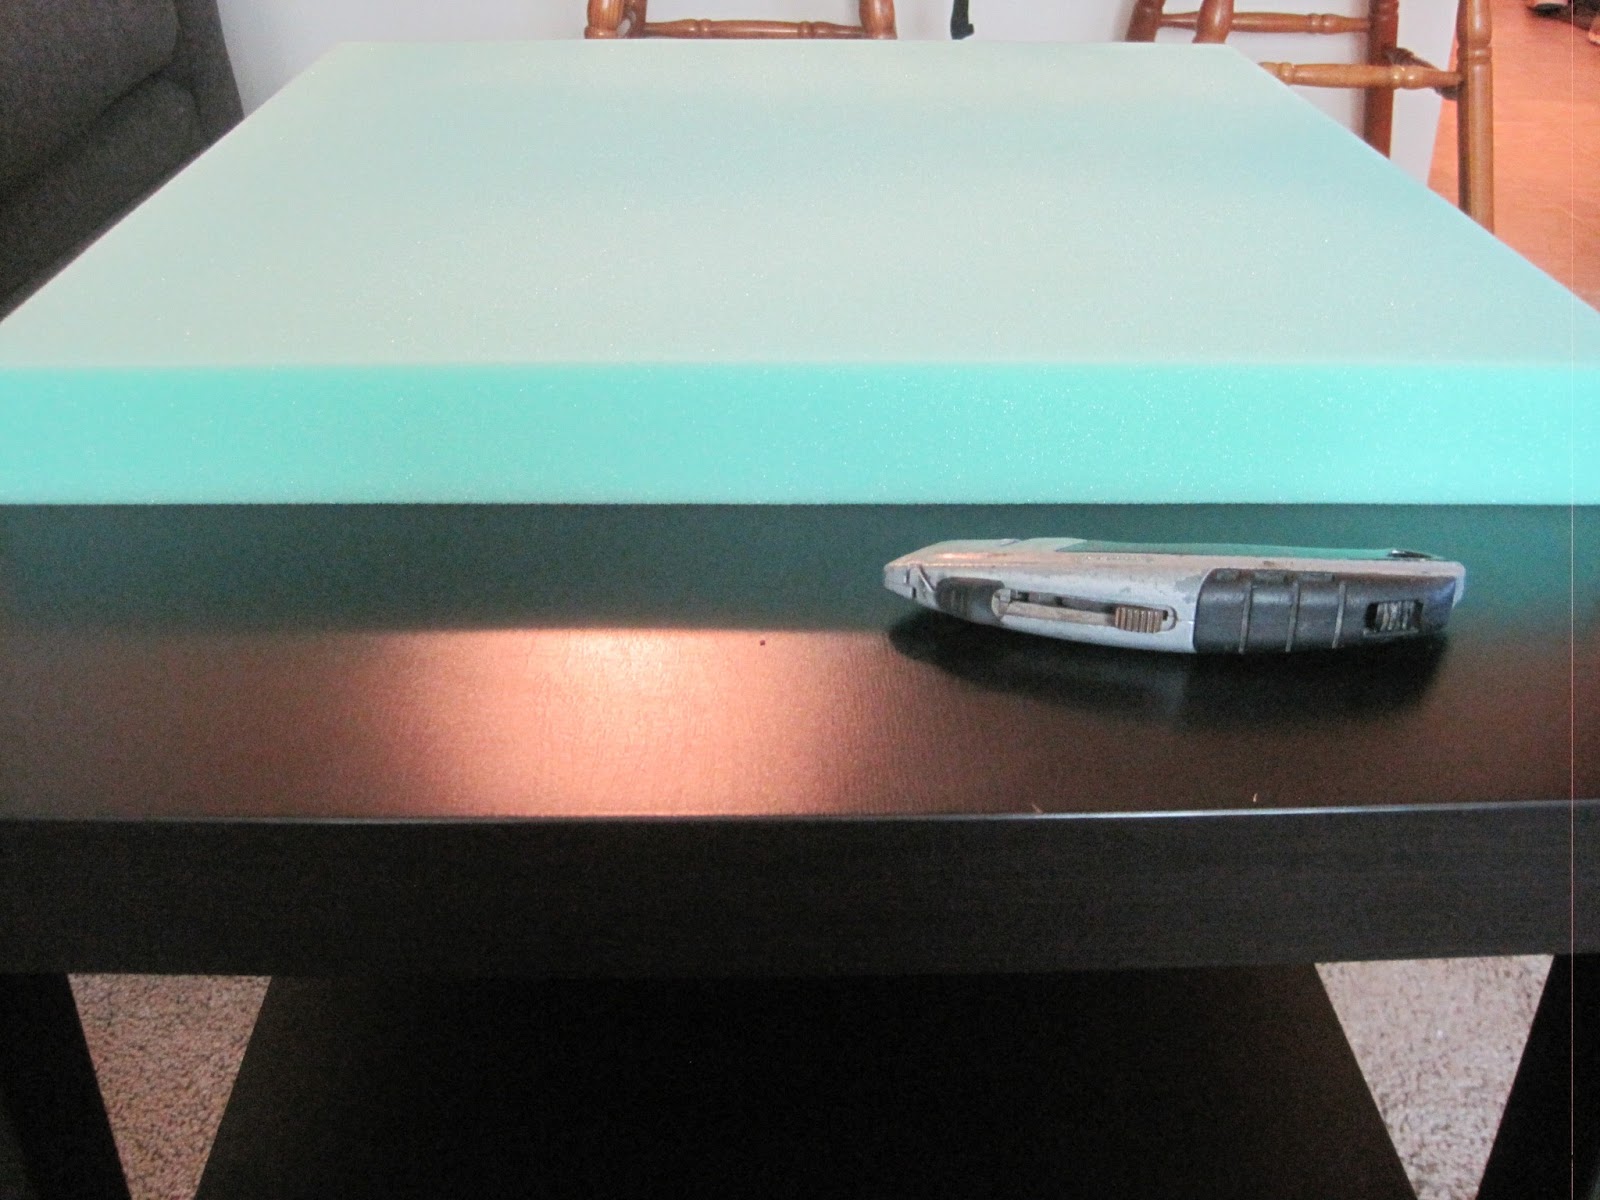
2. First, my husband measured and cut the foam with a utility knife to fit the table. I read somewhere online that spray adhesive doesn't work very well to get the foam to stick to the table. We used a few pieces of handy duct tape - and it worked great! It kept the foam from sliding as we put the batting on.


3. Next we laid the batting out on the floor - I had enough to fold it in half for a little extra loft on the ottoman. We flipped the table upside down onto the batting. At this point we realized we had to take the legs off the table - so we did. After the legs were off, we used the staple gun to staple the batting around the table, pulling it tight. There was quite a bit of extra batting on the underside of the table, so we used scissors to cut some off. Next we poked/cut holes in the batting so we could see where the legs would go for later on.

We were almost done stapling the batting on the table and we got a jam in the staple gun! A bad one! It took my husband over an hour to get the staples out of the staple gun. This was not a quick fix -he had to take the whole thing apart! We were finally able to proceed after his wonderful effort to fix it.
4. After the batting was securely fastened, we laid the ironed fabric on the floor. We used the staple gun to securely fasten it to the underside of the table as well - doing our best to make "clean corners" (I need to look more into this on our next project). I got really excited as the finished product started coming together. Next my husband cut holes in the fabric so we could screw the table legs back in - and as he did, the knife slipped and he cut his finger! (not "Emergency Room" bad)
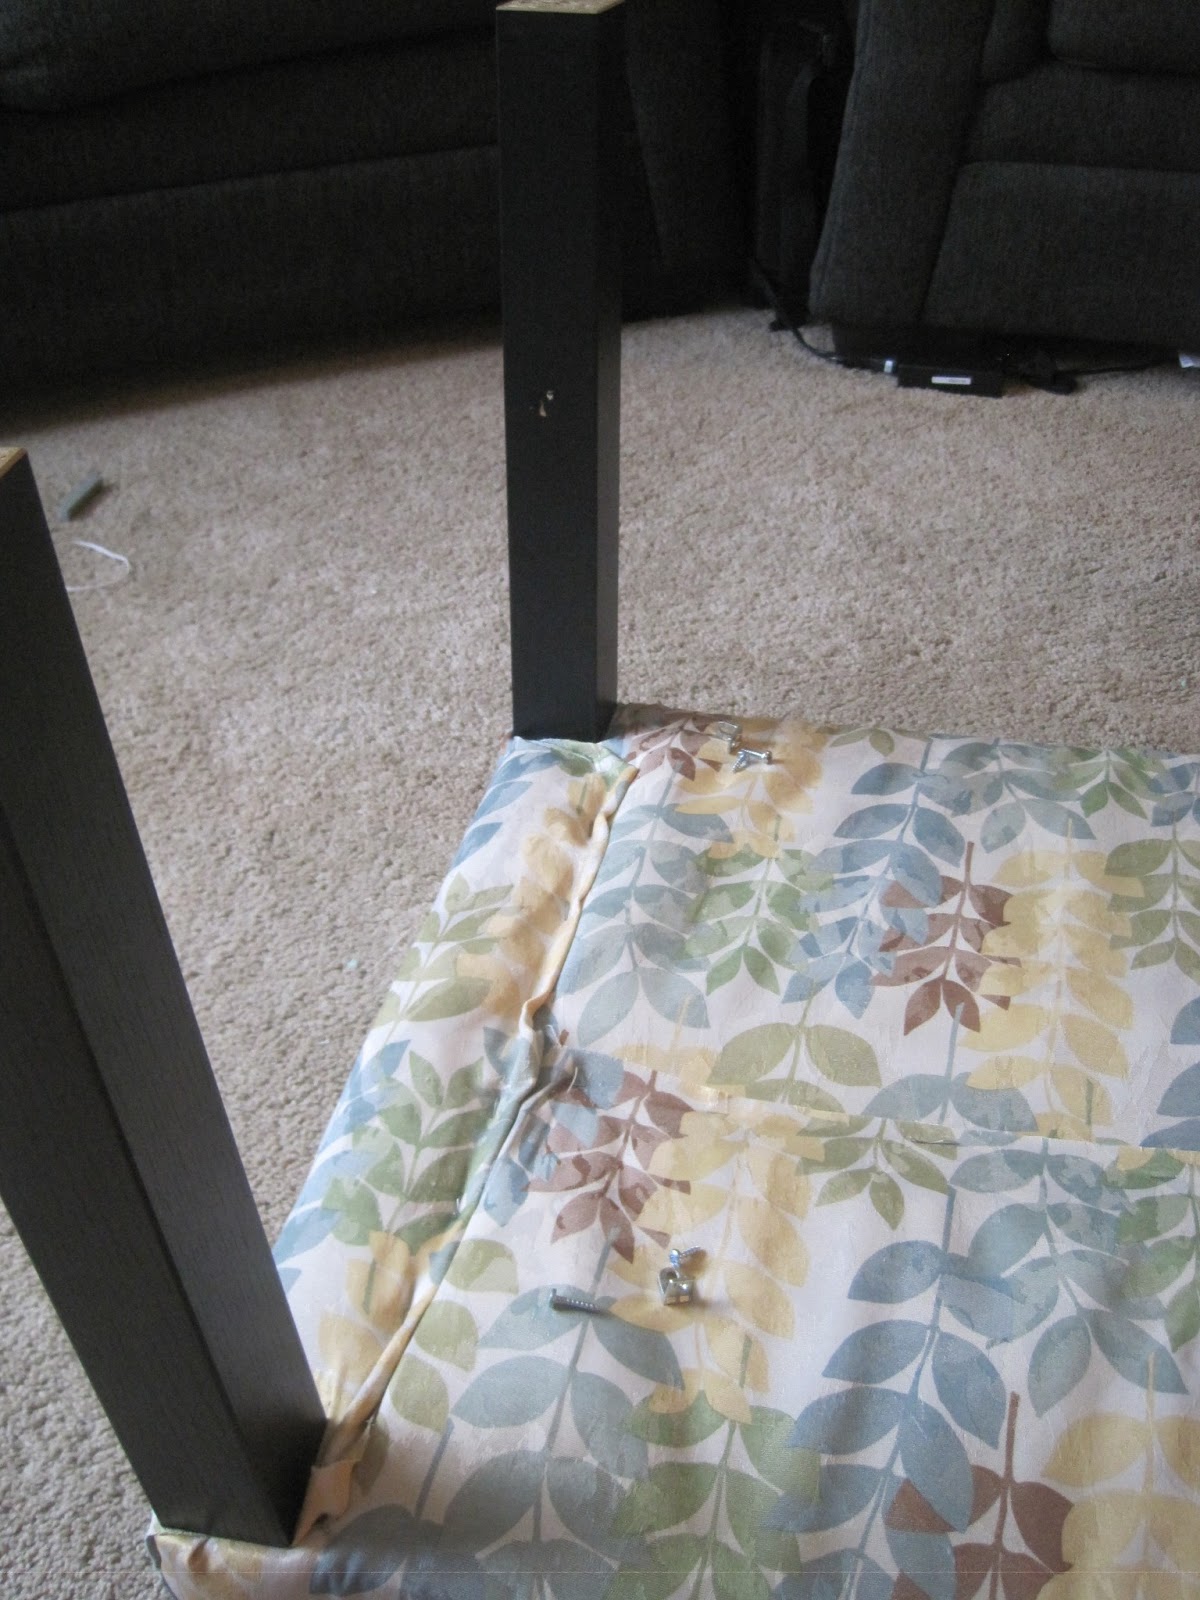
After we bandaged his finger up, we screwed the legs back into the table (above).
And here it is - our first upholstery project ever!
 |
| Our next project is to cut the legs down a few inches for a more comfortable level. But for now, it's just fine. |
No comments:
Post a Comment
I would love to get your feedback and questions!